cocos2d-x学习笔记(16)--spritesheet(精灵表单)
cocos2d-x学习笔记(16)--spritesheet(精灵表单)
在讲这次的内容前,我们需要做一些“课前”准备工作;
首先是说说sprintf函数,定义如下:
int sprintf(char* buffer, const char* format[argument].......);
使用方法:
......
char str[20];
sprintf(str, "player%d.png", 1);
.............
这样图片player.png的名称就被复制到str字符串中,以后在调用图片资源时,就可以直接使用str。
然后是讲讲cocos2d-x中几个类的继承关系,避免以后大家混淆了使用:

这两个类非常地相似,但是功能上还是有些区别的:
CCAnimation是用于将一些的sprite对象载入其中,其实就是将一帧帧的图片放在一起,形成一个连贯的动作;
CCAnimate就是赋予sprite(人物角色)对象CCAnimation动作。
两者可以用下面一段代码来说明:
[cpp]
//animate action
void ActionAnimate::onEnter()
{
BasicActions::onEnter();
CCAnimation* animation = CCAnimation::animation();
char frameName[100] = {0};
for(int i = 1; i<=5; i++)
{
sprintf(frameName, "player%d.png", i);
animation->addFrameWithFileName(frameName);
}
CCActionInterval* action = CCAnimate::actionWithDuration(3,animation, false);
m_player->runAction(action);
}
最后一点,因为这次是要用到spritesheet的知识,所以事先向大家介绍一个图片编辑软件Zwoptex,flash版下载地址:http://zwopple.com/zwoptex/static/downloads/zwoptex-flashversion.zip
有了这个软件就可以很方便地创建.plist文件。
下面是说说使用方法:
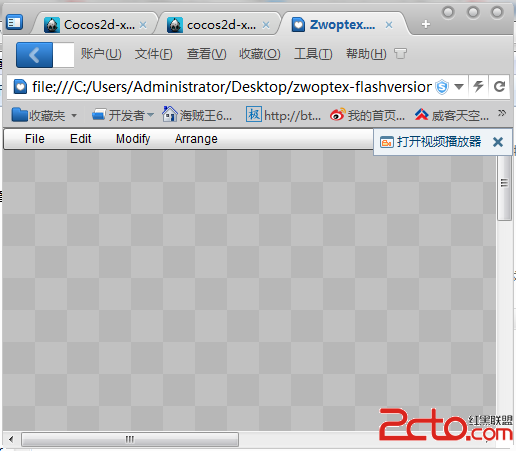
(1)首先是将压缩包解压,然后打开文件夹些的Zwoptex.html网页文件,弹出如下界面:

(2)然后点击File选择import images,这里我使用的是在网上别人事先做好的spritesheet,http://dl.vmall.com/c0ceul037s,原文链接:
http://www.raywenderlich.com/1271/how-to-use-animations-and-sprite-sheets-in-cocos2d
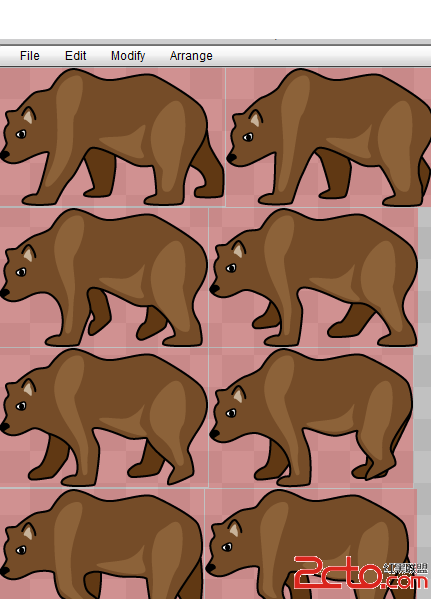
将8张bear图片加载到工程中,一开始8张图片是叠在一起的,不过不要紧,接下来就是要展开它们。显示选Modify选项,选择Canvas width,选择512px,
接着在选Arrange选择By Name&Height。最终8张图片被展开:
(3)选File按钮,选择Export Texture,并命名为AnimBea,在选Export Coordinates到处.plist文件,并命名为AnimBear,注意两者要相同名称,后面会解释原因。
现在开始,就进入写代码阶段了:
step1:创建cocos2d-x工程,并命名为animation;
step2:这里我直接修改了HelloWorldScene.cpp中的init函数代码:
注明:下面的内容大部分参考了网上的一些文章,原文出处:
http://www.cnblogs.com/fengyun1989/archive/2012/05/08/2490561.html和http://www.cnblogs.com/zilongshanren/archive/2011/04/11/2012770.html
[cpp]
bool HelloWorld::init()
{
//////////////////////////////
// 1. super init first
if ( !CCLayer::init() )
{
return false;
}
/////////////////////////////
// 2. add a menu item with "X" image, which is clicked to quit the program
// you may modify it.
// add a "close" icon to exit the progress. it's an autorelease object
CCMenuItemImage *pCloseItem = CCMenuItemImage::itemFromNormalImage(
"CloseNormal.png",
"CloseSelected.png",
this,
menu_selector(HelloWorld::menuCloseCallback) );
pCloseItem->setPosition( ccp(CCDirector::sharedDirector()->getWinSize().width - 20, 20) );
// create menu, it's an autorelease object
CCMenu* pMenu = CCMenu::menuWithItems(pCloseItem, NULL);
pMenu->setPosition( CCPointZero );
this->addChild(pMenu, 1);
/************************************************************************/
/* add animation */
/************************************************************************/
CCSize size = CCDirector::sharedDirector()->getWinSize();
CCSpriteFrameCache::sharedSpriteFrameCache()->addSpriteFramesWithFile("AnimBear.plist");
CCSpriteBatchNode* spriteSheet = CCSpriteBatchNode::batchNodeWithFile("AnimBear.png");
addChild(spriteSheet);
CCMutableArray<CCSpriteFrame*> *walkAnimFrames = new CCMutableArray<CCSpriteFrame*>;
char str[20];
for(int i = 1; i <= 8; i++)
{
sprintf(str, "bear%d.png", i);
walkAnimFrames->addObject(CCSpriteFrameCache::sharedSpriteFrameCache()->spriteFrameByName(str));
}
CCAnimation * animation = CCAnimation::animationWithFrames(walkAnimFrames, 0.1f);
CCSprite* bear = CCSprite::spriteWithSpriteFrameName("bear1.png");
//注意这里的bear1.png是在缓存中命名的图片名称,不是Resources文件夹下的bear1.png图片
bear->setPosition(ccp(size.width / 2, size.height / 2));
CCActionInterval* walkAction = CCRepeatForever::actionWithAction(CCAnimate::actionWithAnimation(animation, false));
补充:移动开发 , 其他 ,


