android 自定义RadioButton(单选按钮)图标随便定.
RadioButton在我们开发APP应用中是很常见的.这点我不用说大家也心知肚明. 虽说Android 系统给我们提供了RadioButton但是为了我们的应用有种"与众不同"的效果,因为android的太死板太斯通见惯了.往往都会定制自己的图标.下面我给大家介绍一下我实现的方法:
方法:运用组合控件(ImageView and TextView)
组合控件代码: /***
* 组合控件
*
* @author zhangjia
*
*/
public class RadioButton extends LinearLayout {
private Context context;
private ImageView imageView;
private TextView textView;
private int index = 0;
private int id = 0;// 判断是否选中
private RadioButton tempRadioButton;// 模版用于保存上次点击的对象
private int state[] = { R.drawable.radio_unchecked,
R.drawable.radio_checked };
/***
* 改变图片
*/
public void ChageImage() {
index++;
id = index % 2;// 获取图片id
imageView.setImageResource(state[id]);
}
/***
* 设置文本
*
* @param text
*/
public void setText(String text) {
textView.setText(text);
}
public String getText() {
return id == 0 ? "" : textView.getText().toString();
}
public RadioButton(Context context) {
this(context, null);
}
public RadioButton(Context context, AttributeSet attrs) {
super(context, attrs);
this.context = context;
LayoutInflater.from(context).inflate(R.layout.item, this, true);
imageView = (ImageView) findViewById(R.id.iv_item);
textView = (TextView) findViewById(R.id.tv_item);
}
}
上面的实现的很容易,所以不过多解释.
下面是调用代码:
public class MainActivity extends Activity {
ListView listView;
@Override
public void onCreate(Bundle savedInstanceState) {
super.onCreate(savedInstanceState);
setContentView(R.layout.main);
listView = (ListView) findViewById(R.id.lv_main);
listView.setAdapter(new MyAdapter(this));
}
/***
* @author jia
*/
RadioButton temp;
class MyAdapter extends BaseAdapter {
private Context context;
private LayoutInflater inflater;
public MyAdapter(Context context) {
super();
this.context = context;
inflater = LayoutInflater.from(context);
}
@Override
public int getCount() {
return 10;
}
@Override
public Object getItem(int position) {
return null;
}
@Override
public long getItemId(int position) {
return 0;
}
@Override
public View getView(int position, View convertView, ViewGroup parent) {
final RadioButton radioButton;
if (convertView == null) {
radioButton = new RadioButton(context);
} else {
radioButton = (RadioButton) convertView;
}
radioButton.setText(position + "");
radioButton.setOnClickListener(new OnClickListener() {
@Override
public void onClick(View v) {
// 模版不为空,则chage.
if (temp != null) {
temp.ChageImage();
}
temp = radioButton;
radioButton.ChageImage();
Toast.makeText(context, radioButton.getText(), 1000).show();
}
});
return radioButton;
}
}
}我来说明一下:我们首先创建一个temp模版,用于记忆你点击的那个RadioButton对象. 在你点击时候,首先查看temp是否为null,如果不为空则执行 temp.ChageImage(); 这个方法是取消选中效果.如果不为null,则首先对该RadioButton执行,取消该按钮选中状态.在执行你点击的那个RadioButton的ChageImage方法,最后记得要把当前的RadioButton付给temp.
效果:
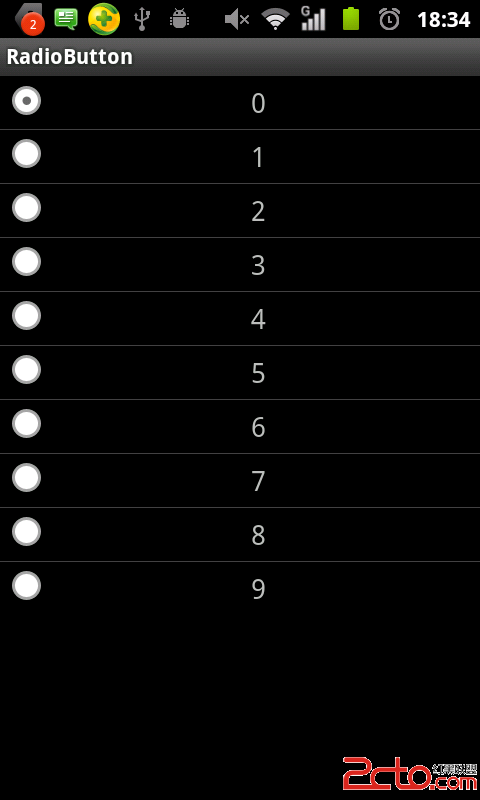
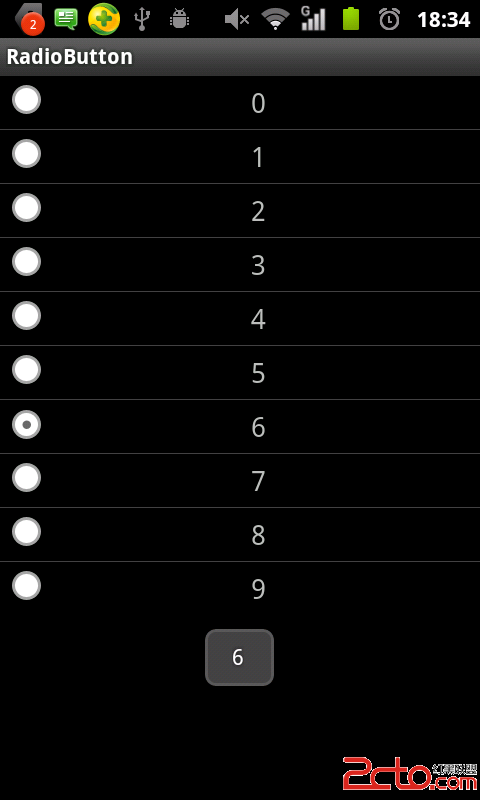
效果是实现了,不过有个小问题,因为目前只有10条数据是看不出效果的.换成20条你就会发现很诡异的问题。
图“:
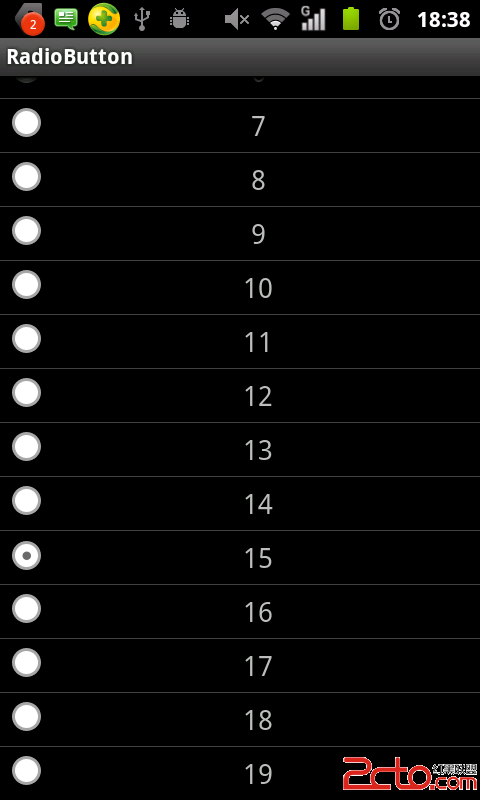
第15条数据会自动勾选上,找了又找,最后终于发现了,是因为listview 的问题。看下面:
final RadioButton radioButton;
if (convertView == null) {
radioButton = new RadioButton(context);
} else {
radioButton = (RadioButton) convertView;
}
也许你会发现了,因为我们为了提高效率,重用了listview个convertView.所以会出现这种bug,解决方法也很简单,只需要我们把上面代码更换为
final RadioButton radioButton;
radioButton = new RadioButton(context);
虽说这样效率有点低,但是有时候我们需要则断一下,只要能实现效果,偶尔对性能放下水也是OK的,何况这种情况下不可能有那么多列.
项目实现样式:

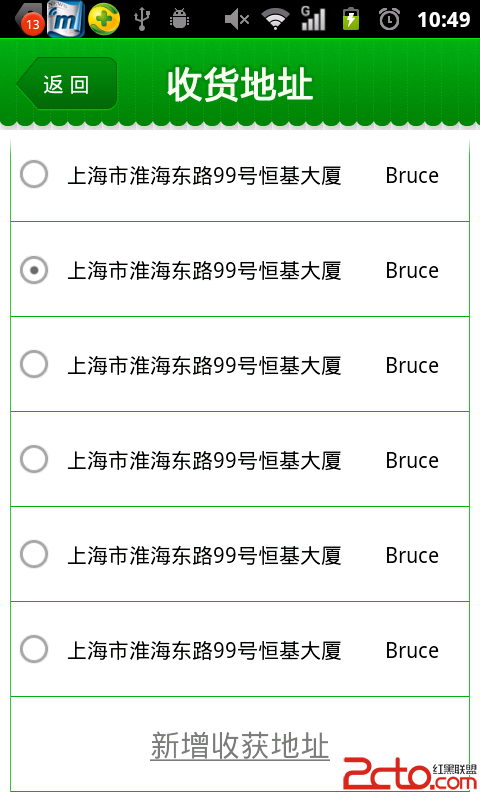
看起来还凑合吧。
这里我把代码上传一下,不足的地方,自己可以进行调整,我只是提供个思路.
源码下载
[color=ize:18px]
[color=ize:18px]额外拓展:
[color=ize:18px]/*****************************************************************************/
[color=ize:18px]LayoutInflater.from(context).inflate(R.layout.item, this);
[color=ize:18px]View view=LayoutInflater.from(context).inflate(R.layout.item, null);
[color=ize:18px]上面两个方法想必大家在熟悉不过了,自定义View的时候离不开LayoutInflater这个东东,那么有什么区别呢,之前我一直不明白,包括写这篇文章的时候,也是看
补充:移动开发 , Android ,