android照相功能介绍
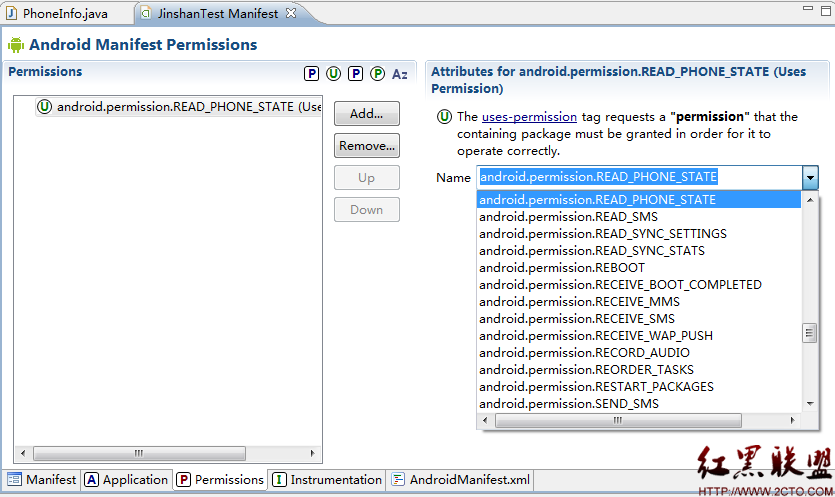
1.获得相机的权限。这样设置没有相机的设备将不能安装使用。
<manifest ... >
<uses-feature android:name="android.hardware.camera" />
...
</manifest ... >
可以使用android:required="false"设置,这样没有相机的设备也可以下载。这时我们需要在运行时调用hasSystemFeature(PackageManager.FEATURE.CAMERA);如果相机不可用,把相机功能取消。
2.拍照(使用照相应用程序)。
android通过启动一个intent来实现拍照的功能。这其中包括三个方面:intent本身,开启一个Activity和处理图像数据。
private void dispatchTakePictureIntent(int actionCode) {
Intent takePictureIntent = new Intent(MediaStore.ACTION_IMAGE_CAPTURE);
startActivityForResult(takePictureIntent, actionCode);
}
我们还需要一个activity来处理这个intent,下面是检测是否有这么一个activity的方法:
public static boolean isIntentAvailable(Context context, String action) {
final PackageManager packageManager = context.getPackageManager();
final Intent intent = new Intent(action);
List<ResolveInfo> list =
packageManager.queryIntentActivities(intent, PackageManager.MATCH_DEFAULT_ONLY);
return list.size() > 0;
}
3.查看照片。获得相机应用拍摄的照片,返回的是Bitmap图像。下面的代码是获得并显示在ImageView中的代码。
private void handleSmallCameraPhoto(Intent intent) {
Bundle extras = intent.getExtras();
mImageBitmap = (Bitmap) extras.get("data");
mImageView.setImageBitmap(mImageBitmap);
}
4.保存图片。android相机应用程序将图片全尺寸保存。你需要提供具易做图置,包括盘符,文件夹,文件名。在Android2.2后,我们很容易得到路径:
storageDir = new File(
Environment.getExternalStoragePublicDirectory(
Environment.DIRECTORY_PICTURES
),
getAlbumName()
);
早期版本你需要自己提供文件的目录:
storageDir = new File (
Environment.getExternalStorageDirectory()
+ PICTURES_DIR
+ getAlbumName()
);
设置文件名:private File createImageFile() throws IOException {
// Create an image file name
String timeStamp =
new SimpleDateFormat("yyyyMMdd_HHmmss").format(new Date());
String imageFileName = JPEG_FILE_PREFIX + timeStamp + "_";
File image = File.createTempFile(
imageFileName,
JPEG_FILE_SUFFIX,
getAlbumDir()
);
mCurrentPhotoPath = image.getAbsolutePath();
return image;
}
通过Intent将文件位置传递给相机应用:
File f = createImageFile();
takePictureIntent.putExtra(MediaStore.EXTRA_OUTPUT, Uri.fromFile(f));
5.添加照片到Gallery。
private void galleryAddPic() {
Intent mediaScanIntent = new Intent(Intent.ACTION_MEDIA_SCANNER_SCAN_FILE);
File f = new File(mCurrentPhotoPath);
Uri contentUri = Uri.fromFile(f);
mediaScanIntent.setData(contentUri);
this.sendBroadcast(mediaScanIntent);
}
6.解码图像尺寸。如果你的系统在现实几个图片后,内存使用紧张,可使用下面的技术:一中减少动态堆的数量的方法。
private void setPic() {
// Get the dimensions of the View
int targetW = mImageView.getWidth();
int targetH = mImageView.getHeight();
// Get the dimensions of the bitmap
BitmapFactory.Options bmOptions = new BitmapFactory.Options();
bmOptions.inJustDecodeBounds = true;
BitmapFactory.decodeFile(mCurrentPhotoPath, bmOptions);
int photoW = bmOptions.outWidth;
int photoH = bmOptions.outHeight;
// Determine how much to scale down the image
int scaleFactor = Math.min(photoW/targetW, photoH/targetH);
// Decode the image file into a Bitmap sized to fill the View
bmOptions.inJustDecodeBounds = false;
bmOptions.inSampleSize = scaleFactor;
bmOptions.inPurgeable = true;
Bitmap bitmap = BitmapFactory.decodeFile(mCurrentPhotoPath, bmOptions);
mImageView.setImageBitmap(bitmap);
补充:移动开发 , Android ,


