mysql数据库实时监控工具Mycheckpoint介绍
安装文档:
http://code.openark.org/forge/mycheckpoint/documentation/quick-howto#Install
需求:
1.需要安装python,并且版本大于2.4
shell > phthon看一下有没有装,没有就
yum install python2.需要安装Mysql-Python模块,RHEL,Centos方法如下,其它参考官方手册
yum install MySQL-python
安装:
tar xzfv mycheckpoint-208.tar.gz
cd mycheckpoint-208
sudo python setup.py install
3.创建数据库:
mysql > CREATE DATABASE mycheckpoint;
mysql > GRANT ALL PRIVILEGES ON mycheckpoint.* TO 'monitoring_user'@'localhost' IDENTIFIED BY 'some_password';
4.编辑配置文件:
vim /etc/mycheckpoint.cnf
[mycheckpoint]
#smtp_host = mail.my-server-company.com
#smtp_from = monitor@my-server-company.com
#smtp_to = dba@my-server-company.com
#monitored_port = 3306
purge_days = 60
#... Any command line option can go here; replace dash ("-") with underscored ("_")
[client]
user=dbmonitor
password=123456
socket=/tmp/mysql.sock
port=3306
host=localhost
5.部署:创建表,等其它操作
mycheckpoint deploy
6.写入crontab,每五分钟采集一次数据:
crontab -e写入如下代码
*/5 * * * * mycheckpoint
7.开启http服务(默认端口12306),加nohup可以在断开shell后HTTP仍然运行,也可以写入到linux启动脚本:
nohup mycheckpoint http > /dev/null &参数
–http-port 指定监听端口
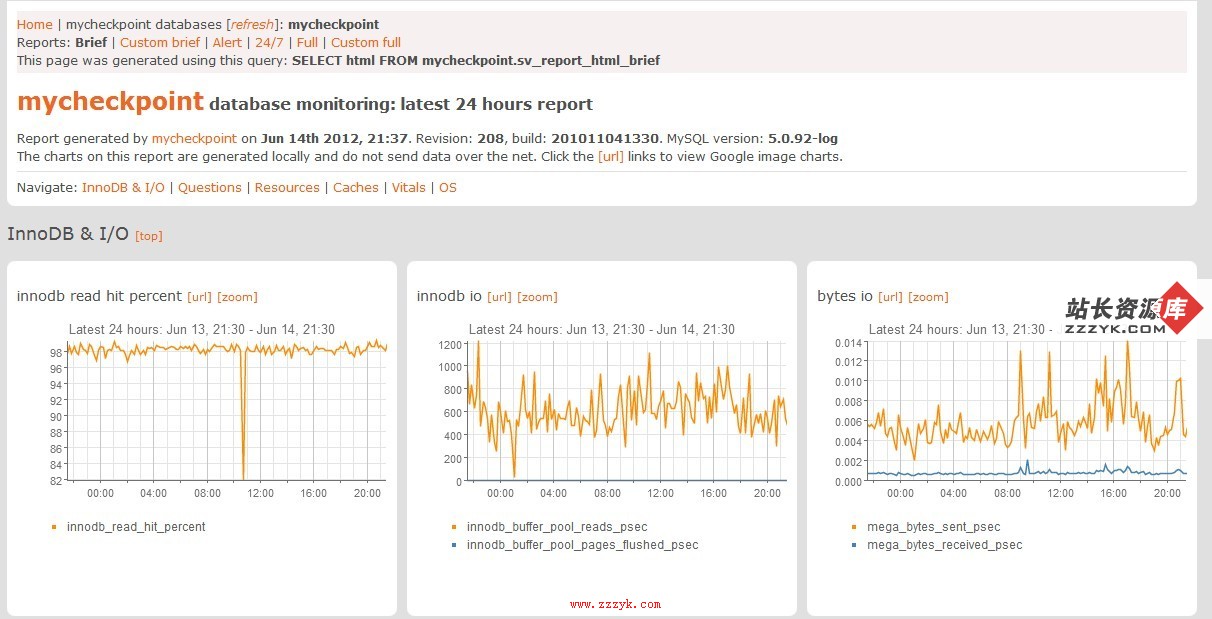
OK,打开http://your_ip_address:12306/ 就能查看你刚才配置的mycheckpoint了,不过数据是整点生成的,所以你可能不得不等待一个小时以后才能看见生成的曲线,另外的这个软件还支持报警和用户定义数据记录,因为时间问题,先不在这里写明了。
查看帮助:
mycheckpoint --help
我们来看截图
补充:数据库,mysql教程