如何利用Windows 7 x64安装Apache 64-bitBinaries
Windows 7作为微软最新的操作系统,市场普及率正在稳步上升。作为一款全新的操作系统,Windows 7新功能和新技巧自然不少。今天小编将为大家讲解Windows7x64是如何安装Apache64-bit的?安装了 Windows 7 x64 English 版本,在搭建开发测试环境时,发现Apache官方根本没有提供64位的版本。几经搜索,发现在 blackdot.be 有人用 Visual Studio 2005编译了一个Apache64-bitbinaries。试了一下,在 Windows 7 64-bit上很好用。安装过程记录如下:
Windows 7 x64 安装 Apache 64-bitBinaries详细步骤
1. 访问 Blackdot.be ::Apache64-bitBinaries,点击下方的链接httpd-2.2.13-win64.rar,下载 Apache64-bit的压缩包。
2. 将压缩包解压到本地硬盘。例如我存放在 D:/Web/Tool/httpd-2.2-x64。
3. 以管理员身份运行 DOS Command(Runasadministrator),进入D:/Web/Tool/httpd-2.2-x64。
4. 执行 httpd -k install:
D:\Web\Tool\httpd-2.2-x64\bin>httpd -k install
Installing the Apache2.2 service
The Apache2.2 service is successfully installed.
Testing httpd.conf....
Errors reported here must be corrected before theservicecanbestarted.
httpd: Syntax error online35ofD:/Web/Tool/httpd-2.2-x64/conf/httpd.conf:
ServerRootmust be a valid directory
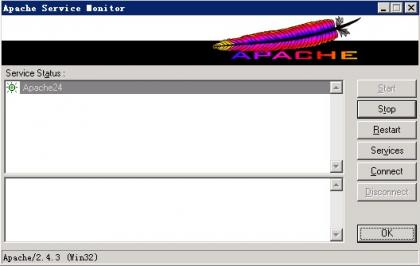
在执行 httpd -k install 的时候,显示 The Apache2.2serviceissuccessfullyinstalled 表明已经安装成功。接下来的Testinghttpd.conf有可能会出错,例如我安装时报了ServerRoot must be avaliddirectory,不用理会。回头自己手工编辑httpd.conf, 将ServerRoot指向正确的目录即可。
5. 修改 httpd.conf 完成之后,执行 httpd -k start:
D:\Web\Tool\httpd-2.2-x64\bin>httpd -k start
D:\Web\Tool\httpd-2.2-x64\bin>
如果没有提示错误,则表明启动成功。
当然你也可以执行完第2步之后,先将 httpd.conf 文件改好,再执行 httpd -k install和httpd-kstart。


