eclipse开发环境(支持tomcat、maven、jetty、JBoss)
1、安装jdk
安装完成之后配置java环境变量:
JAVA_HOME:jdk安装路径;
Path:%JAVA_HOME%\bin;
Classpath:.;%JAVA_HOME%\lib\dt.jar;%JAVA_HOME%\lib\tools.jar;
cmd-java、javac、java -version进行测试。
2、到www.eclipse.org下载最新eclipse for javaee版本的Eclipse,并配置JRE和工作空间字符集:
window-preferences-java-installed JREs
Window-Preferences-General-Workspace
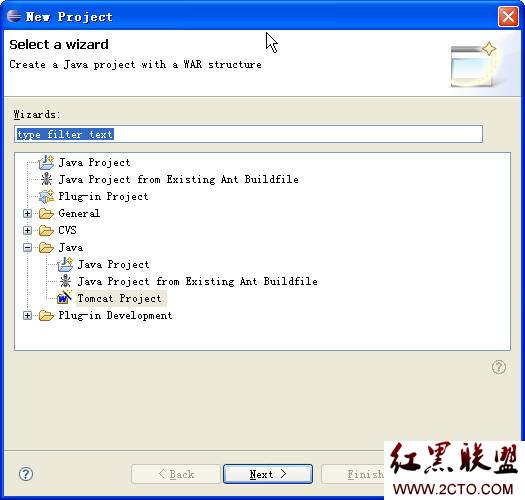
3、安装tomcat,并配置tomcat
http://www.sysdeo.com/eclipse/tomcatPlugin.html下载最新tomcat插件,解压到eclipse/plugins目录,重启;
window-customize perspective 配置eclipse工具条显示图标;
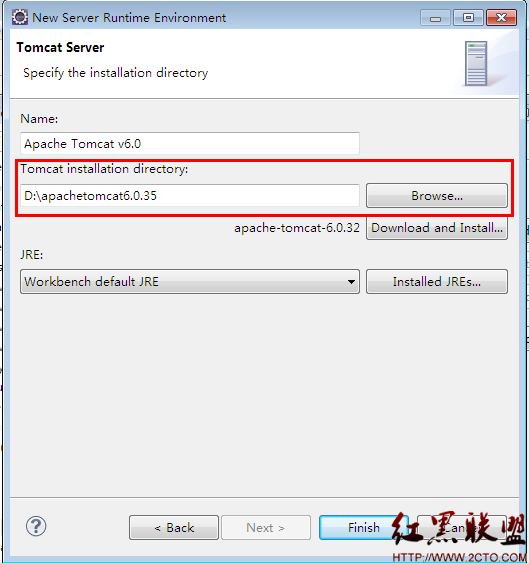
window-preferences-tomcat 配置tomcat版本、目录以及server.xml文件路劲,展开后设置JVM Setting等选项;
点击eclipse工具条上小猫图标,启动tomcat,浏览器访问http://localhost:8080/验证
4、创建并运行web工程
new-project-web-dynamic web project-projectname & target runtime(配置tomcat服务器) & add project to working sets(加载工具集)-next & default ouput folder:WebRoot/WEB-INF/classes(修改编译文件输出路径)-next-content directory:WebRoot(修改jsp存放目录名称)-finish
在工程webRoot下创建index.jsp文件;
部署运行方式一:
在eclipse下方显示窗口选择servers-new server-选择配置好的tomcat & next-将项目加入configred中-finish
运行配置好的server,即可访问http://localhost:8088/web/index.jsp
部署运行方式二:
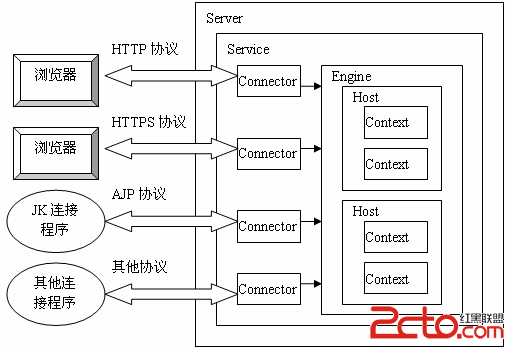
修改tomcat下server.xml配置文件,在host节点下配置Context节点
<Context docBase="D:\workspace\maven\web\WebRoot" path="/web"></Context>
这样直接启动eclipse工具栏上tomcat图标即可;
5、将已有的web工程导入eclipse,无法找到javax.servlet.jsp.*的问题:
需要重新导入servlet-api.jar, jsp-api.jar两个jar,在tomcat中有
项目-properties-java build path-add externalJARs-在tomcat中选择servlet-api.jar, jsp-api.jar即可
6、安装svn插件
help-install new software
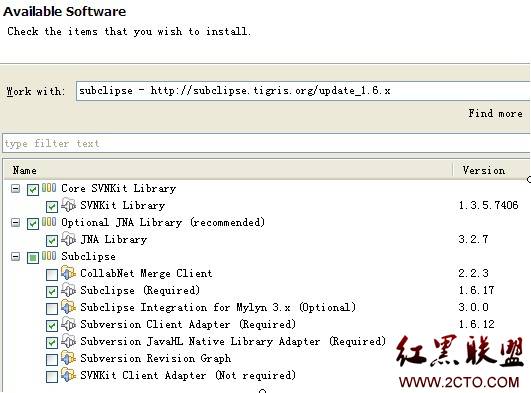
subclipse :http://subclipse.tigris.org/update_1.6.x
7、安装maven插件及配置
首先下载maven http://maven.apache.org/download.html
配置maven环境变量:
M2_HOME:maven安装路径;
path:%M2_HOME%\bin;
echo %M2_HOME%、mvn -v 检验
eclipse安装插件
如果安装时不成功,抛出以下类似信息
Java代码
Software being installed: Maven Integration for Eclipse (Required) 0.12 . 1.20110112 - 1712
Java代码
Software being installed: Maven Integration for Eclipse (Required) 0.12.1.20110112-1712
表示还差gef 插件,实际上gef已经装有,只是缺少zest插件
gef插件:http://download.eclipse.org/tools/gef/updates/interim/
最小安装zest:http://www.eclipse.org/downloads/download.php?file=/tools/gef/downloads/drops/3.6.1/R201009132020/GEF-zest-3.6.1.zip
下载后拷贝到eclipse相应目录即可
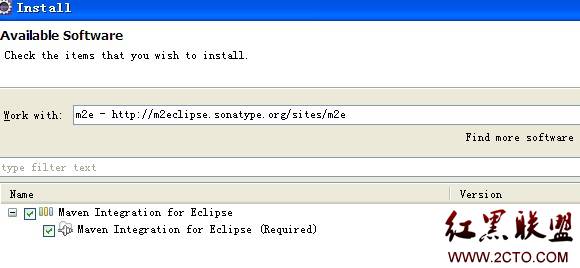
m2e :http://m2eclipse.sonatype.org/sites/m2e
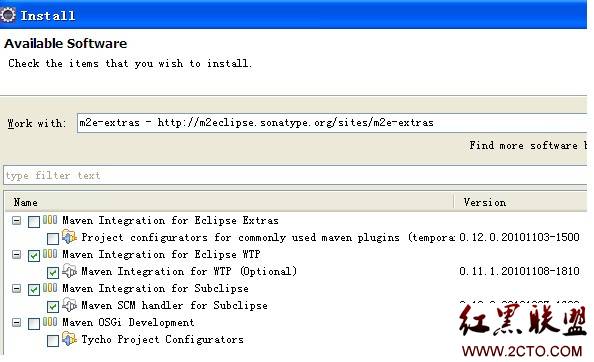
m2e-extras :http://m2eclipse.sonatype.org/sites/m2e-extras
配置
首先将maven/conf目录下的setting.xml拷贝到~\.m2,和repository同级
window-preferences-maven-installations(指定外部maven路径及全局setting文件)-user setting(选择用户自定义setting文件)
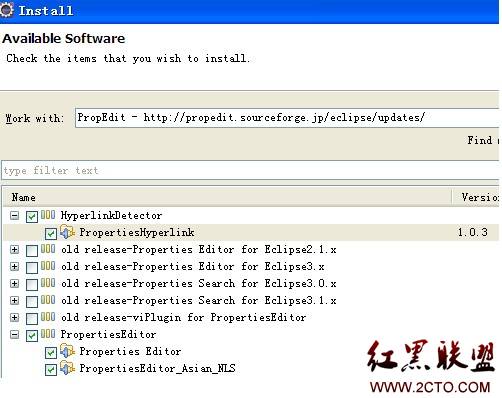
8、安装PropEdit插件(处理国际化编辑Unicode资源文件使用native2ascii编码)
PropEdit :http://propedit.sourceforge.jp/eclipse/updates/
右键properties文件,open with propertiesEditor,直接编译即可
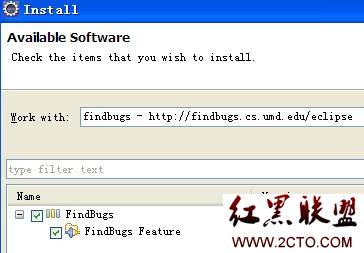
9、安装findbugs插件
findbugs :http://findbugs.cs.umd.edu/eclipse
10、安装jetty插件
Jetty Launcher :http://jettylauncher.sourceforge.net/updates
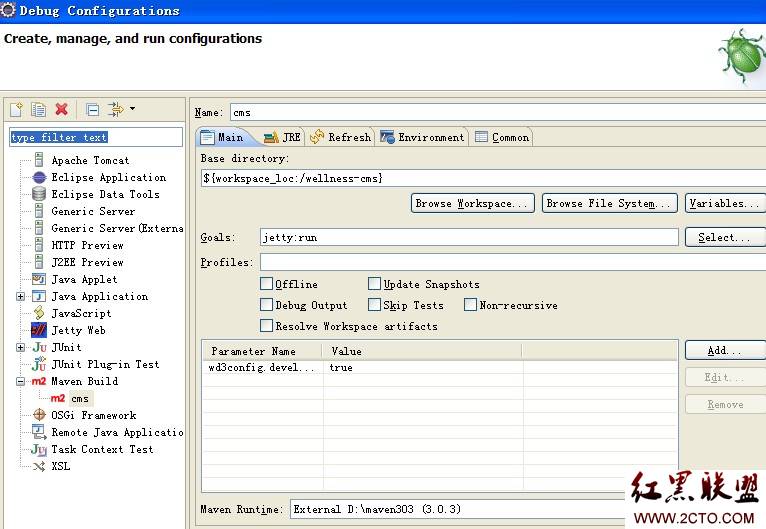
11、配置maven+jetty项目调试环境
debug-debug configurations-name(调试服务器名称) & base directory(选择项目路径) & goals(jetty:run 运行命令) & add parameter(name:wd3config.development value:true)-apply
12、通过svn检出maven+jetty项目
import-maven-Checkout Maven Projects from scm-scm url(svn):svn地址-finish
13、反编译软件
jadclipse - http://sourceforge.net/projects/jadclipse/
下载后放在eclipseplugin下
需要依赖jad.exe文件,放在%JAVA_HOME%/bin下
重新启动eclipse,重启后在window>preferences>java>JadClipse中,
设置path to decompiler为jad.exe的全路径,既:%JAVA_HOME%/bin/jad.exe
14、JBoss tools
jboss - http://download.jboss.org/jbosstools/updates/development/
相关插件很多,总共有43项,选择自己有用的安装,我选择了Web and Java EE Developement中的一部分
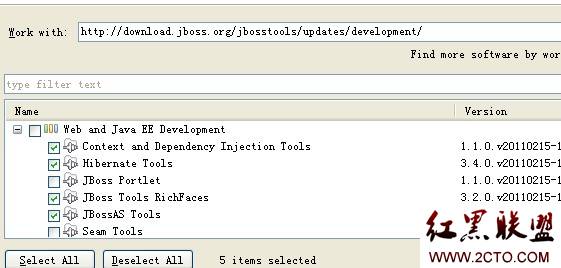
Context and Dependency Injection Tools —— 上下文和依赖注入工具
Hibernate Tools ——Hibernate 工具
Jboss Tools RichFaces —— 可视化编辑,不过好像是针对JSF 编辑的
JbossAS Tools ——JBoss 服务器工具,可以达到在eclipse 中进行项目部署、启动、关闭jboss server的作用
Struts Tools ——Struts 工具,但是好像只支持到1.2 版的struts
XULRunner —— 可以把web 程序做成类似桌面应用程序一样的效果
Jboss Portlet ——JBoss 的门户网站,应该是针对这个门户网站程序开发用的
Seam Tools —— 一种用于构建web 程序的新框架,整合了Ajax 、JSF 、EJB3 、Portlets 和BPM
15、easyExplorer 快速打开项目硬盘文件夹
下载地址:http://sourceforge.net/projects/easystruts/
下载后放到eclipse下plugins中即可
补充:软件开发 , Java ,